The Winterberry Cape: A Free Beginner Crochet Pattern
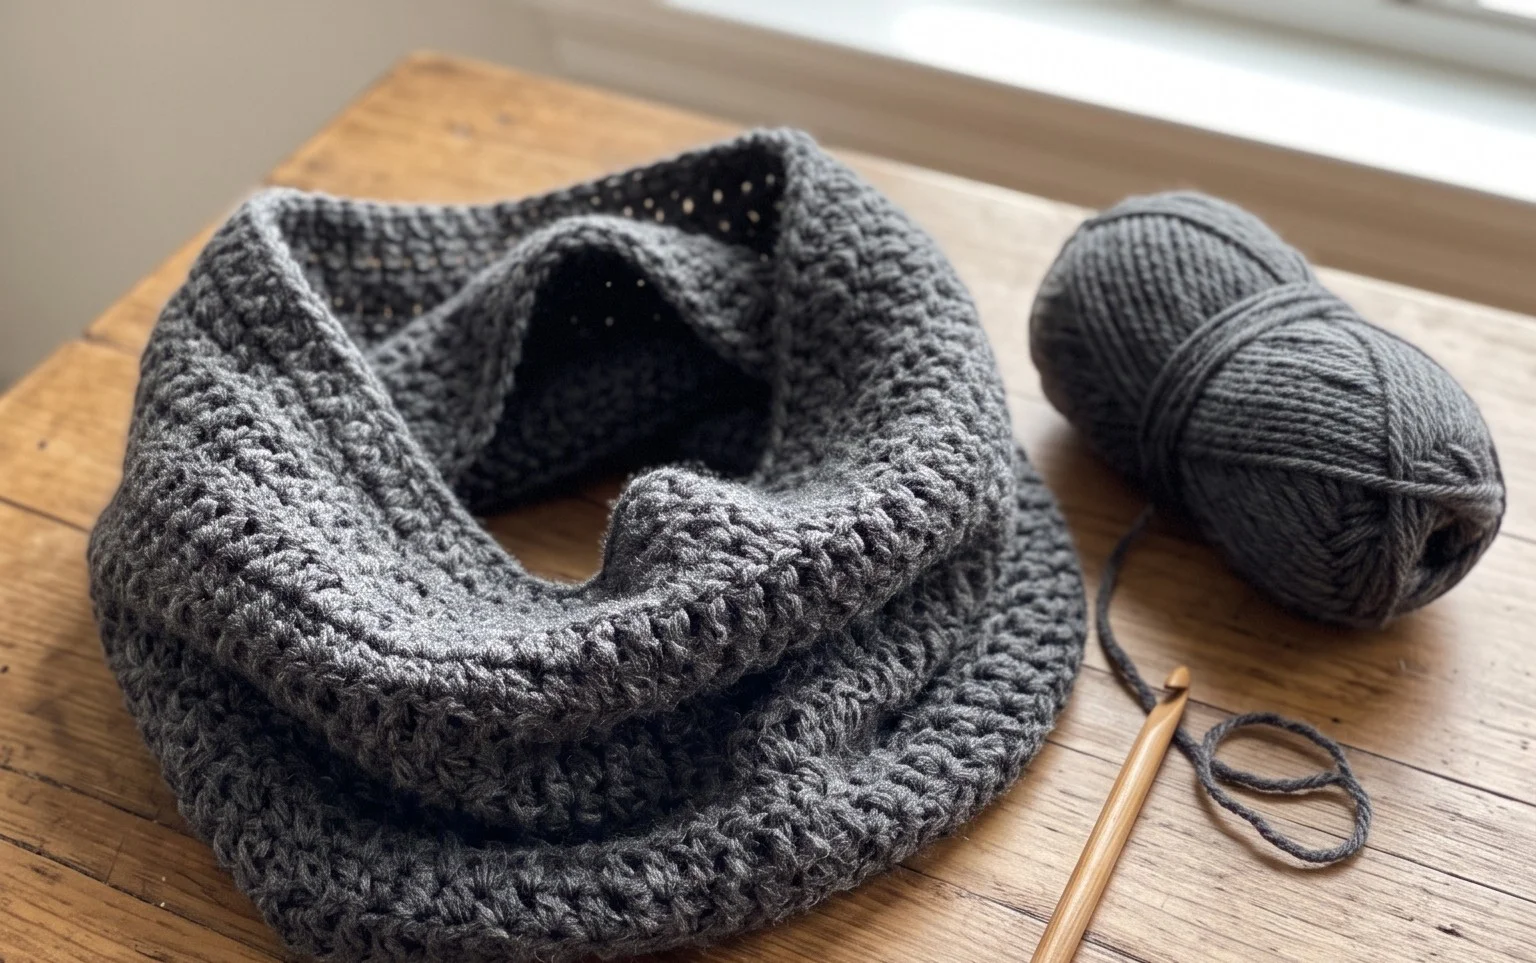
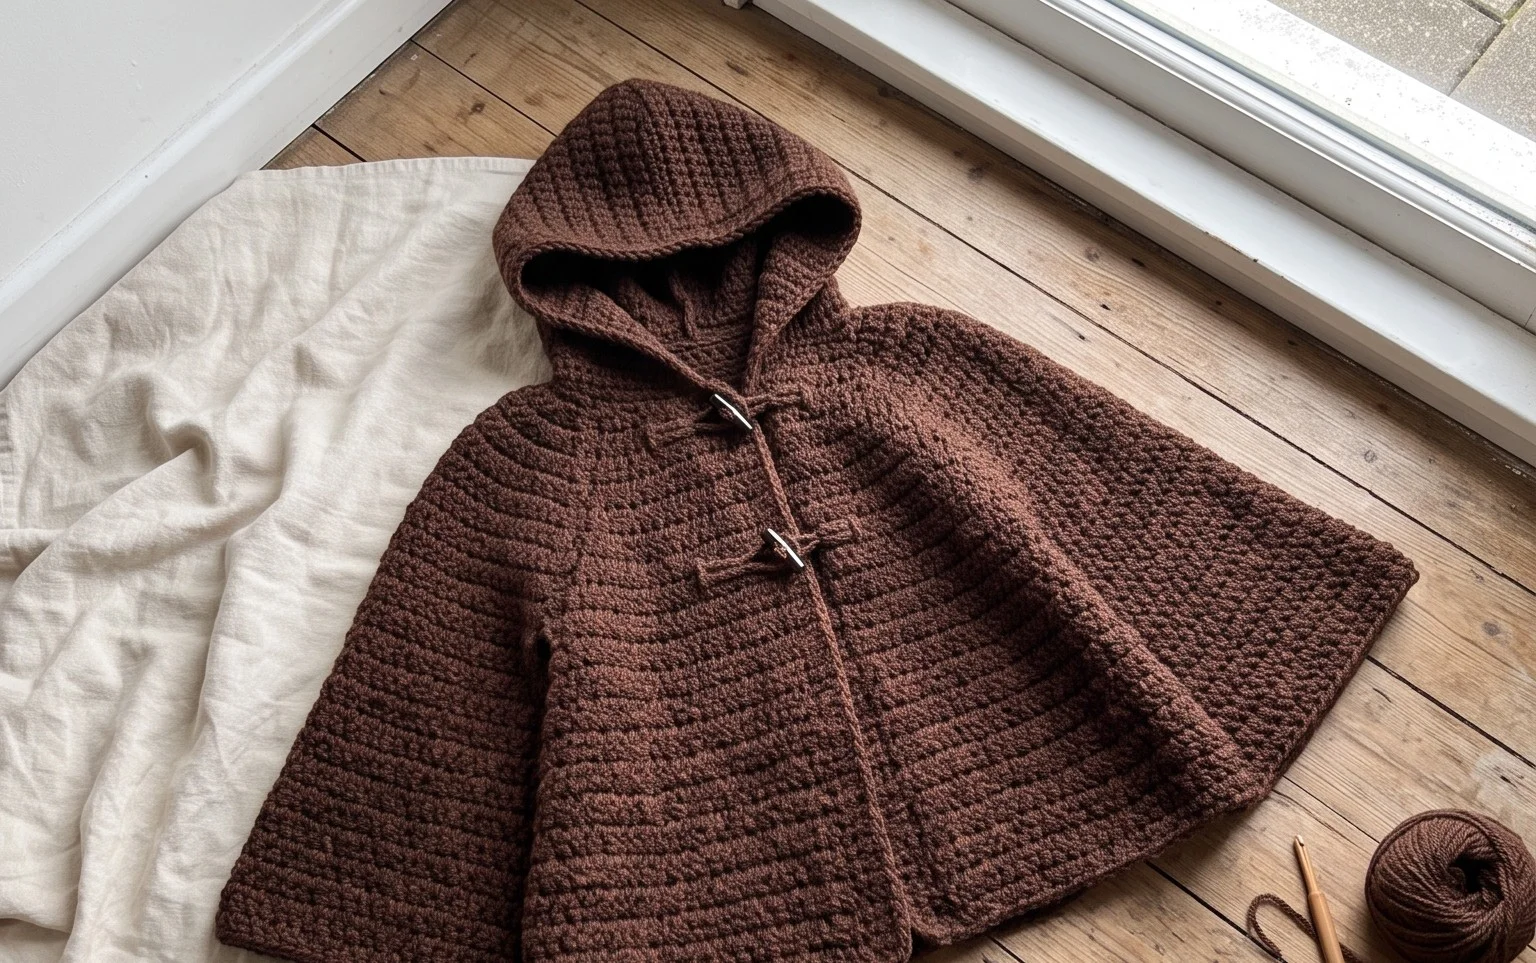
Soft yarn draped over your shoulders provides warmth on chilly autumn afternoons and makes this wrap a staple for your seasonal closet. Beginners often struggle with shaping garments, but this construction uses simple rectangles joined together to form a structured yet flowy piece. You will spend your time practicing basic stitches that mimic a knit appearance, creating a finished fabric that is both dense and flexible. Mastering this project involves consistent tension and learning to sew seams that remain invisible once worn. This comfortable layer fits most sizes, making it a thoughtful gift for friends who appreciate handmade accessories during winter months.
Why You’ll Love This Pattern
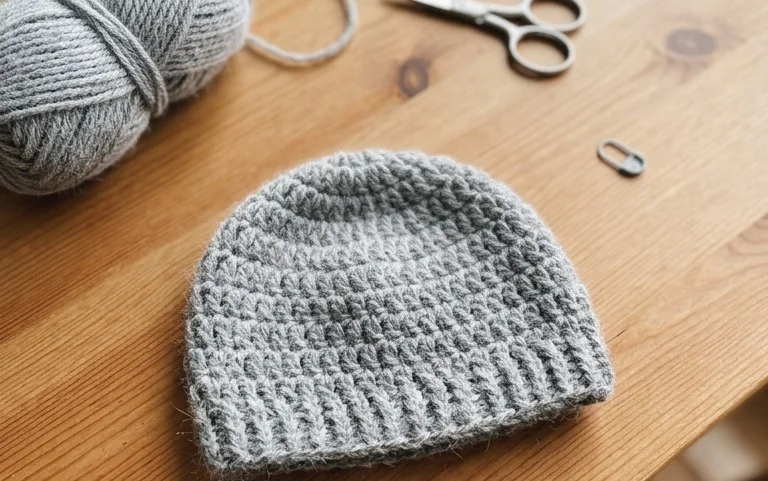
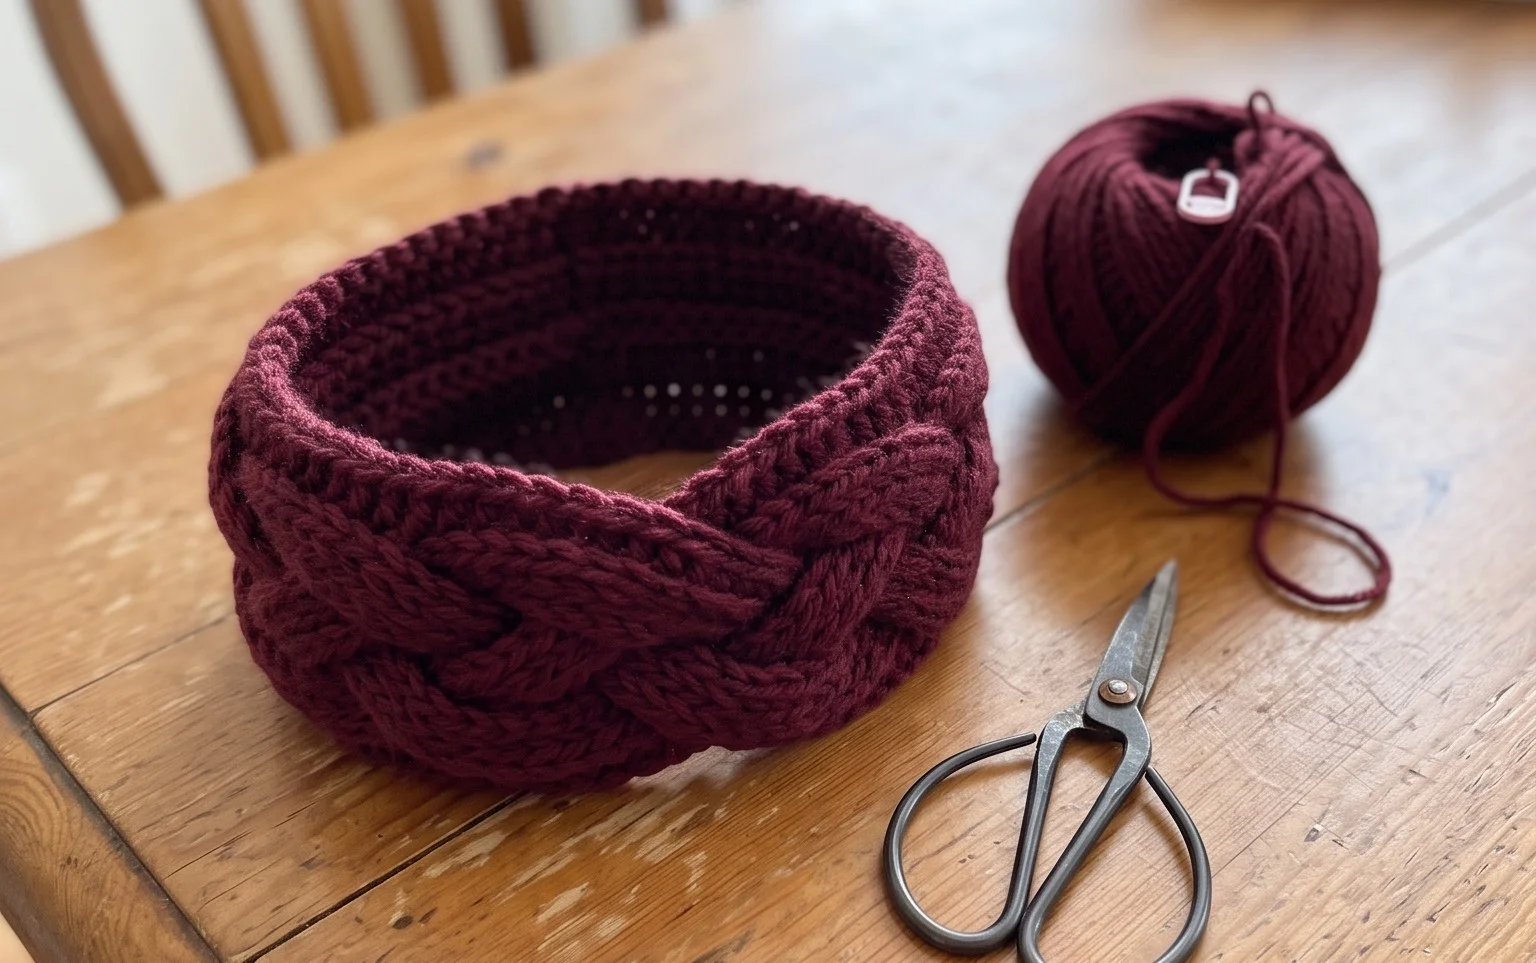
This crochet ribbed beanie pattern uses a simple half double crochet construction that creates a stretchy, fabric-like texture similar to knit ribbing. Because it is worked as a flat rectangle and then seamed, it is an ideal project for those who find working in circular rounds intimidating. The pattern relies on working through the back loops only, which provides an excellent introduction to texture-based crochet stitches without complex increases or decreases. It works up quickly with a bulky weight yarn, making it a reliable choice for last-minute gifts or warming your own wardrobe during winter.
I finished this hat in one evening while watching a movie. The instructions were very clear and the texture looks much more professional than I expected for such a beginner project.
— Sarah, hobbyist crocheter
Pattern Overview & Skill Level
- Skill Level: Beginner
- Approximate Time: 2 to 3 hours
- Construction: Worked as a flat rectangle in rows, then seamed along the side and cinched at the top.
- Finished Dimensions: Fits an average adult head (20-22 inches circumference).
Materials & Supplies Needed
- Yarn: Bulky weight #5 acrylic or wool blend, approximately 150 yards.
- Hook Size: 6.0 mm / J-10.
- Notions: Tapestry needle for seaming, scissors, measuring tape, and a pom-pom maker (optional).
- Safe Yarn Substitutions: You can use two strands of worsted weight #4 yarn held together, which will maintain the same gauge and finished size. Using a lighter weight yarn will result in a smaller hat unless you increase the starting chain length and number of rows.
Stitch Guide & Abbreviations (US Terms)
- ch = chain
- hdc = half double crochet
- BLO = back loop only (insert hook under the back loop of the stitch instead of both loops)
- sl st = slip stitch
- st/sts = stitch/stitches
- Foundation Half Double Crochet (Optional): A method to chain and hdc in one step for a stretchy base. If you prefer, work a standard foundation chain.
Step-by-Step Pattern Instructions
Main Body Panel
The hat is worked sideways. You will create a long rectangle where the height of the chain determines the length of the hat, and the number of rows determines the circumference.
- Row 1: Ch 35. Hdc in the third ch from the hook and each ch across. Turn. (33 sts)
- Row 2: Ch 2 (counts as first hdc throughout). Hdc in BLO of each st across until the end. Turn. (33 sts)
- Rows 3-40: Repeat Row 2 until the piece measures approximately 18 inches unstretched.
- Finishing: Fasten off, leaving a long 12-inch yarn tail for seaming.
Assembly and Finishing
- Seaming: Fold the rectangle in half so the short edges meet. Using your tapestry needle and the long tail, sew the side edges together using a whip stitch or mattress stitch.
- Closing the Crown: With the hat inside out, weave the yarn through the stitches at the top edge of the tube. Pull the yarn tail tight to close the gap securely. Knot the yarn firmly at the center to ensure the top stays shut.
- Weaving Ends: Turn the hat right-side out and weave in any remaining loose ends on the interior of the fabric.
Care & Washing Instructions
- Hand wash in cool water using a mild wool-safe detergent to maintain the integrity of the fibers.
- Lay the hat flat on a clean towel to air dry, ensuring it is reshaped to its original dimensions.
- Do not hang the hat to dry, as the weight of the water can cause the fabric to stretch out of shape.
Pro Tips & Common Mistakes to Avoid
- Tension Consistency: Because this hat relies on the stretch of the BLO stitches, avoid pulling your yarn too tightly at the end of each row. Keeping your tension loose ensures the hat maintains its elasticity.
- Stitch Counting: Count your stitches at the end of every row. It is common for beginners to accidentally drop the last stitch of a row, which will cause the side seam to appear uneven.
- Invisible Seaming: When seaming, match the ridges created by the BLO stitches carefully. Aligning these horizontal lines makes your side seam almost invisible once finished.
- Adjusting Size: To make the hat wider, add more rows. To make the hat taller (a slouchy fit), start with a longer foundation chain. Adjusting the size will require more or less yardage, so ensure you have extra yarn if increasing the dimensions.
Frequently Asked Questions
Can I substitute the bulky yarn for a medium weight yarn?
Yes, you can hold two strands of worsted #4 yarn together. This mimics the thickness of bulky #5 yarn and will work perfectly with the provided hook size.
Is this pattern suitable for a complete beginner?
Absolutely. It only uses one stitch type and involves no complex shaping, making it a great first project to practice your tension.
How do I adjust the size for a child?
Simply reduce the number of rows you crochet to fit the child’s head circumference. For a toddler, aim for a rectangle length of roughly 16 inches before seaming.
Can I sell the finished beanies?
This depends on the specific terms of the designer. Most designers allow you to sell finished items made from their patterns as long as you provide credit to the original creator, but you should always check the specific copyright notice provided with the pattern source.
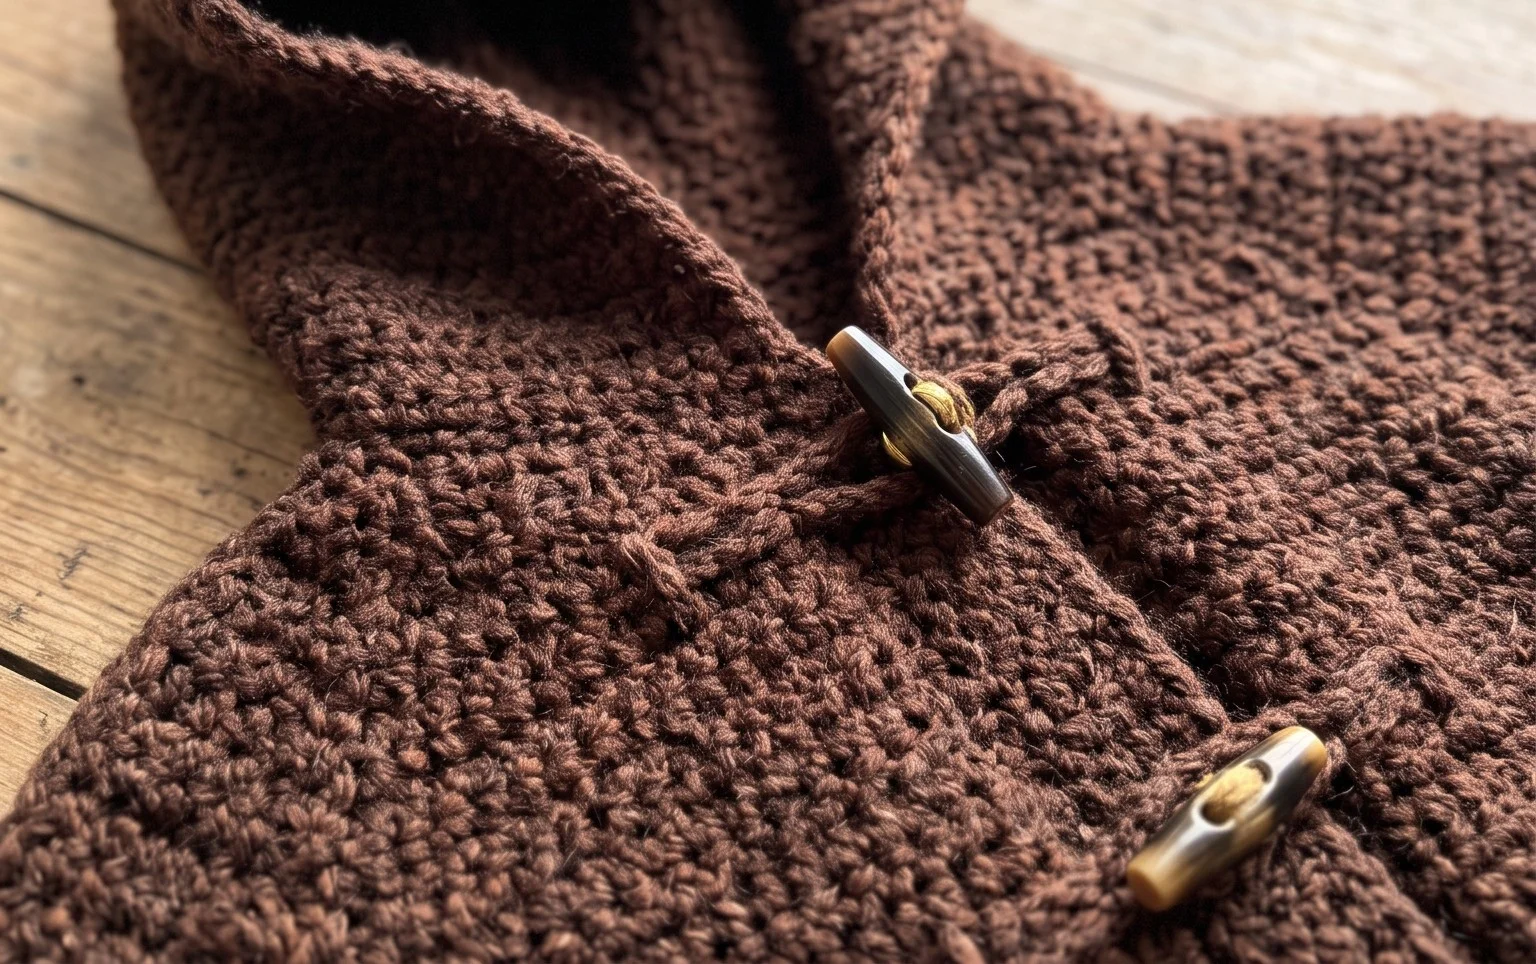
Your new wrap brings a layer of handcrafted comfort to any outfit you choose to pair it with this season. Consider crafting a version in a deep forest green or a muted charcoal for a more classic aesthetic that matches your entire wardrobe. Sharing your progress with a photo online helps others find inspiration for their own yarn stash projects. You are always welcome to browse the rest of the blog for more free patterns to start your next creative project whenever you feel ready for a new challenge.