Free Crochet Blanket Scarf Pattern: Easy Step-by-Step
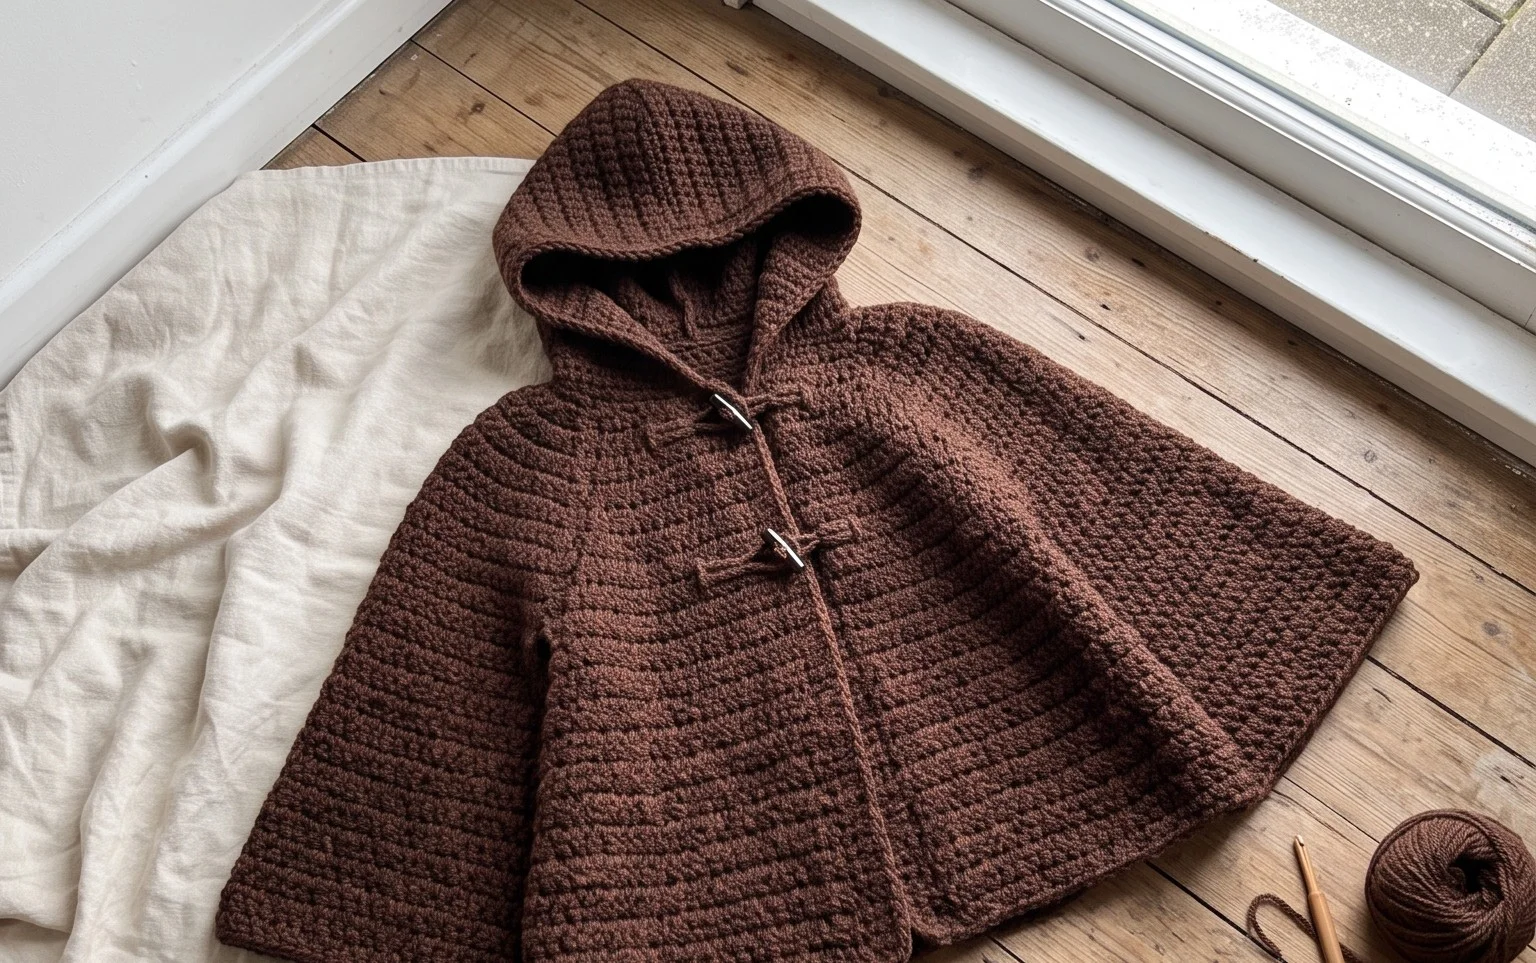
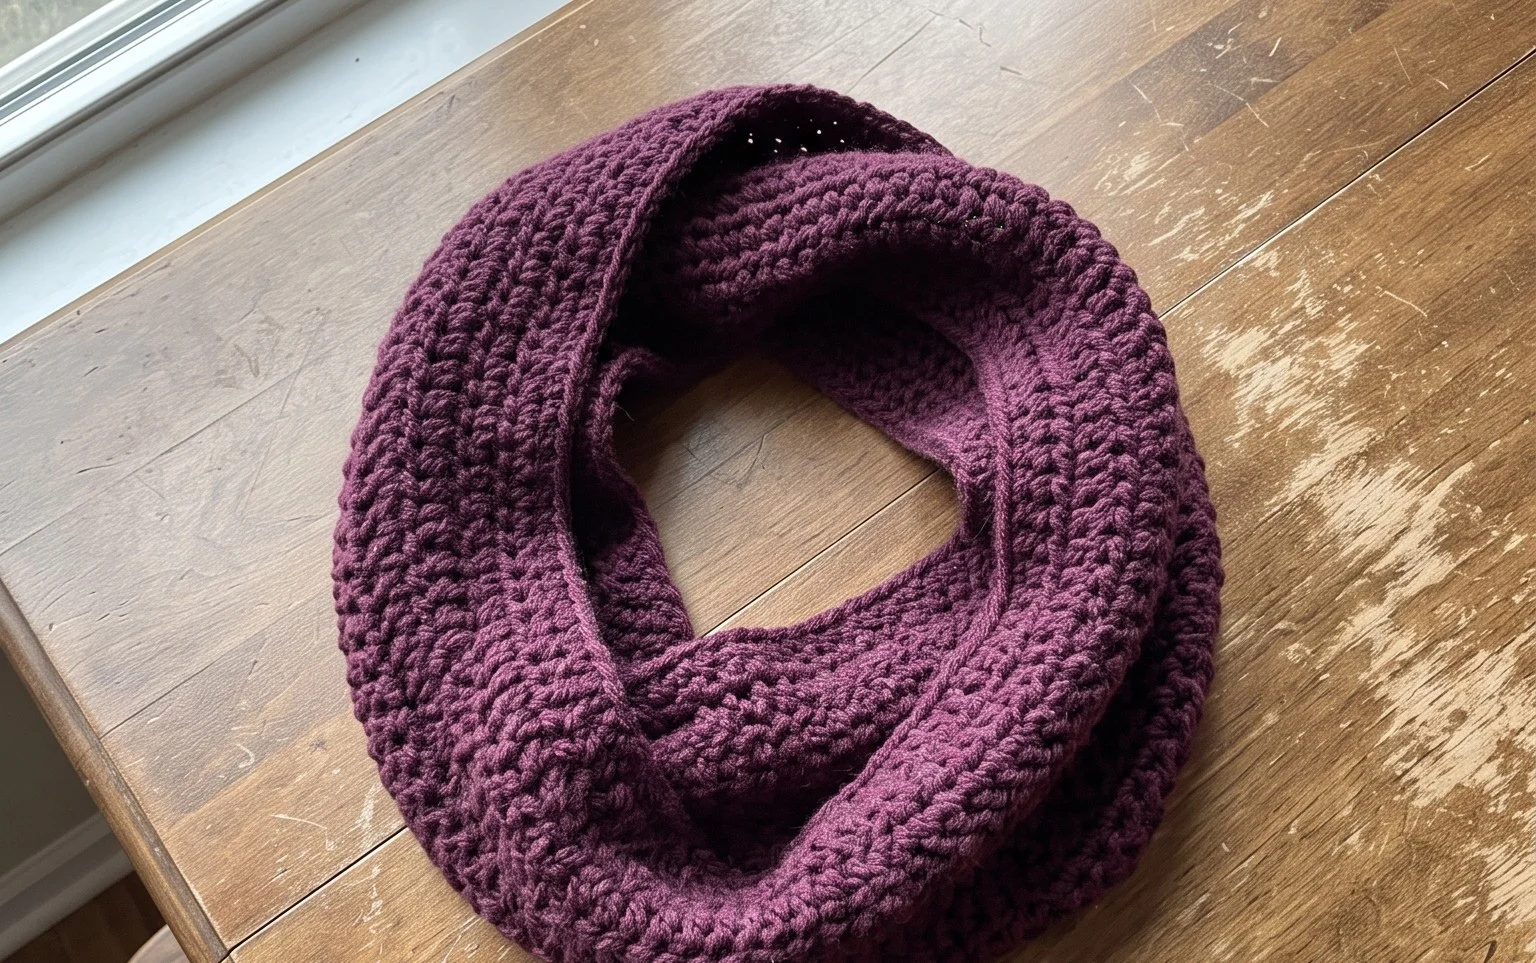
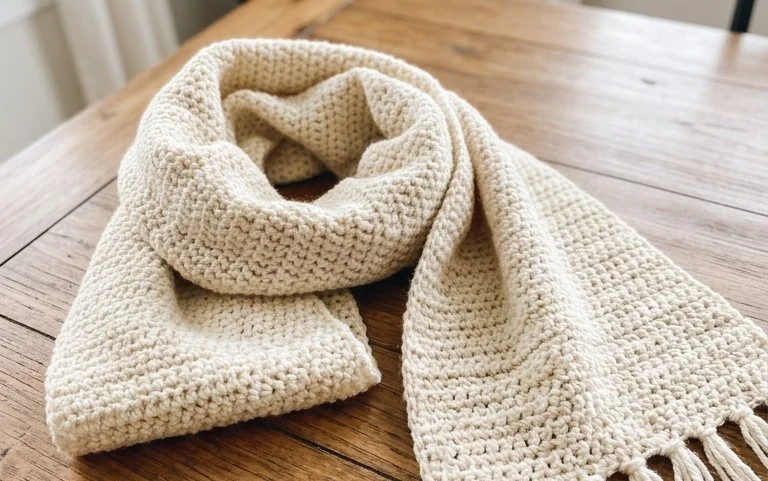
This oversized accessory wraps around your shoulders like a soft, heavy cloud on a chilly winter morning. The fabric has a distinct, squishy density that makes it feel much more substantial than a standard shawl, providing genuine warmth when you walk the dog or sit by an open window. Beginners will find this project helpful because it relies on the repetition of basic granny squares to build confidence without requiring complex shaping or counting. You will learn the classic technique for joining blocks cleanly, which allows you to adjust the final size until you have the exact amount of coverage you need.
Why You Will Love This Pattern
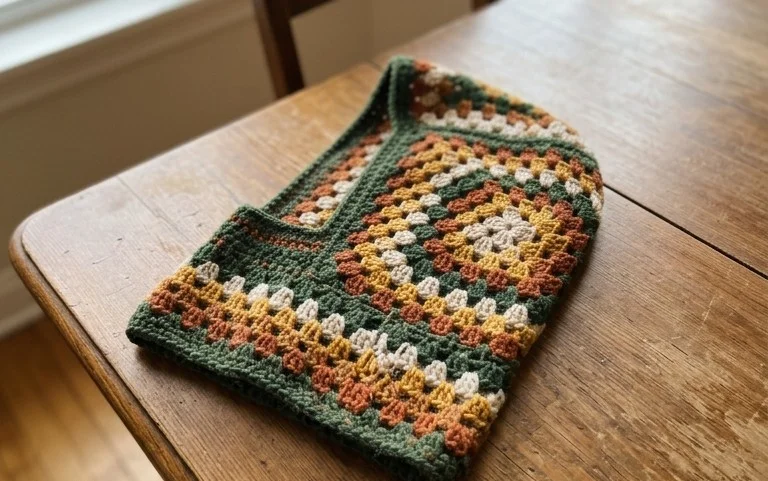
The Classic Crochet Granny Square is the fundamental building block of crochet heritage. This pattern relies on a repetitive, meditative stitch pattern that makes it ideal for working on while listening to podcasts or traveling. Because it is built from the center outward, you can easily stop at any size to create anything from a small coaster to a large throw blanket. Beginners often choose this design because it teaches the essential relationship between chain spaces and clusters of stitches, while experienced crafters appreciate the speed at which a stack of squares can be whipped up.
I finally mastered the transition between rounds thanks to the clear instructions provided here. It was the first time I actually understood where to place my hook for the corner stitches.
— Sarah, beginner crocheter
Pattern Overview & Skill Level
- Skill Level: Beginner
- Approximate Time: 30-45 minutes per square
- Construction: Worked in joined rounds, starting from a center ring and expanding outward.
- Finished Dimensions: Approximately 6 inches by 6 inches when using worsted weight yarn.
Materials & Supplies Needed
- Yarn: Worsted weight (#4), 100% acrylic or wool blend, approximately 20 yards per square.
- Hook Size: 5.0 mm (US H-8).
- Notions: Tapestry needle for weaving in ends, scissors, and a stitch marker to track the beginning of your rounds.
- Safe yarn substitutions: You can use DK weight (#3) with a 4.0 mm hook for a smaller, tighter square, or bulky weight (#5) with a 6.0 mm hook for a larger, quicker square. Note that changing weight will significantly alter the final dimensions.
Stitch Guide & Abbreviations (US Terms)
- ch = chain
- sl st = slip stitch
- dc = double crochet
- dc cluster = 3 dc worked into the same space
- sp = space
- MR = magic ring (or ch 4 and sl st to first ch to form a loop)
Step-by-Step Pattern Instructions
Granny Square Base
- Rnd 1: Start with a MR. Ch 3 (counts as first dc), work 2 dc into the ring, ch 2. 3 dc into the ring, ch 2—repeat from * to * two more times. Join with a sl st to the top of the beginning ch-3. (12 dc, 4 ch-2 spaces)
- Rnd 2: Sl st into the next dc and into the first ch-2 corner space. Ch 3, 2 dc, ch 2, 3 dc all in the same corner space. Ch 1, skip 3 dc, (3 dc, ch 2, 3 dc) in the next ch-2 corner space—repeat from * to * two more times. Ch 1, join with a sl st to the top of the beginning ch-3. (24 dc, 4 corner spaces, 4 ch-1 spaces)
- Rnd 3: Sl st into the next dc and into the next ch-2 corner space. Ch 3, 2 dc, ch 2, 3 dc in same corner space. Ch 1, 3 dc in the next ch-1 space, ch 1, (3 dc, ch 2, 3 dc) in the next corner space—repeat from * to * two more times. Ch 1, 3 dc in the last ch-1 space, ch 1, join with a sl st to top of beginning ch-3. (36 dc, 4 corner spaces, 8 ch-1 spaces)
- Rnd 4: Continue the pattern by working 3 dc into each side ch-1 space and (3 dc, ch 2, 3 dc) into every corner space until the square reaches your desired size.
Finishing
Once you reach the final round, fasten off your yarn, leaving a 6-inch tail. Use your tapestry needle to weave the tail back and forth through the back of the stitches to secure it. If you are making multiple squares for a blanket, ensure all ends are secured before joining the squares together using a whip stitch or a flat braid join.
Care & Washing Instructions
- Hand wash your finished item in cool water with a mild detergent to prevent fiber distortion.
- Lay the piece flat on a clean, dry towel and shape it into a perfect square while damp.
- Avoid using a tumble dryer, as heat can shrink natural fibers and dull the texture of synthetic yarns.
Pro Tips & Common Mistakes to Avoid
Maintain consistent tension by holding your yarn with a steady grip, ensuring your stitches aren’t too tight or too loose, which can cause the square to curl or bubble. Use a stitch marker on the very first stitch of every round to avoid losing your place when joining. Weave your ends in by threading the needle through the base of the stitches on the wrong side to keep the work looking tidy. If you want to increase the size of the square without adding more rounds, consider adding a border of single crochet around the perimeter, which will add approximately half an inch to each side.
Frequently Asked Questions
Can I use different colors for each round?
Yes, this pattern is excellent for using up scrap yarn. Simply fasten off at the end of each round and attach a new color in any corner space before beginning the next round.
How do I keep my square from twisting?
Twisting often happens if you accidentally add an extra stitch in a side space. Always count your clusters—each side should have one more cluster than the previous round.
Is it okay to sell items made from this pattern?
You are welcome to sell finished items created from this pattern. I ask that you credit the designer by linking back to this tutorial in your shop listings.
What if my square has a wavy edge?
A wavy edge typically indicates that your tension is too loose or you are adding too many chain stitches between clusters. Try going down one hook size to tighten up the gauge.
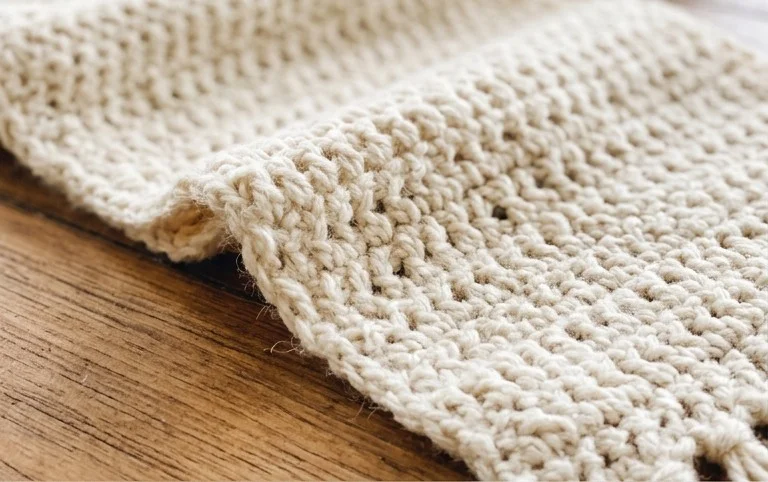
Watching your individual crochet squares join together into a thick, functional wrap provides a real sense of accomplishment. If you want to change the look for spring, try swapping the wool blend for a cool cotton yarn to create a lighter accessory for breezy days. Posting a photo of your finished work on social media helps others visualize how different color palettes change the design. Please check the rest of the blog for more patterns that use these same fundamental stitches to help you grow your handmade wardrobe throughout the entire year.