Easy Crochet Bee: Free Pattern for Beginners (Step-by-Step)
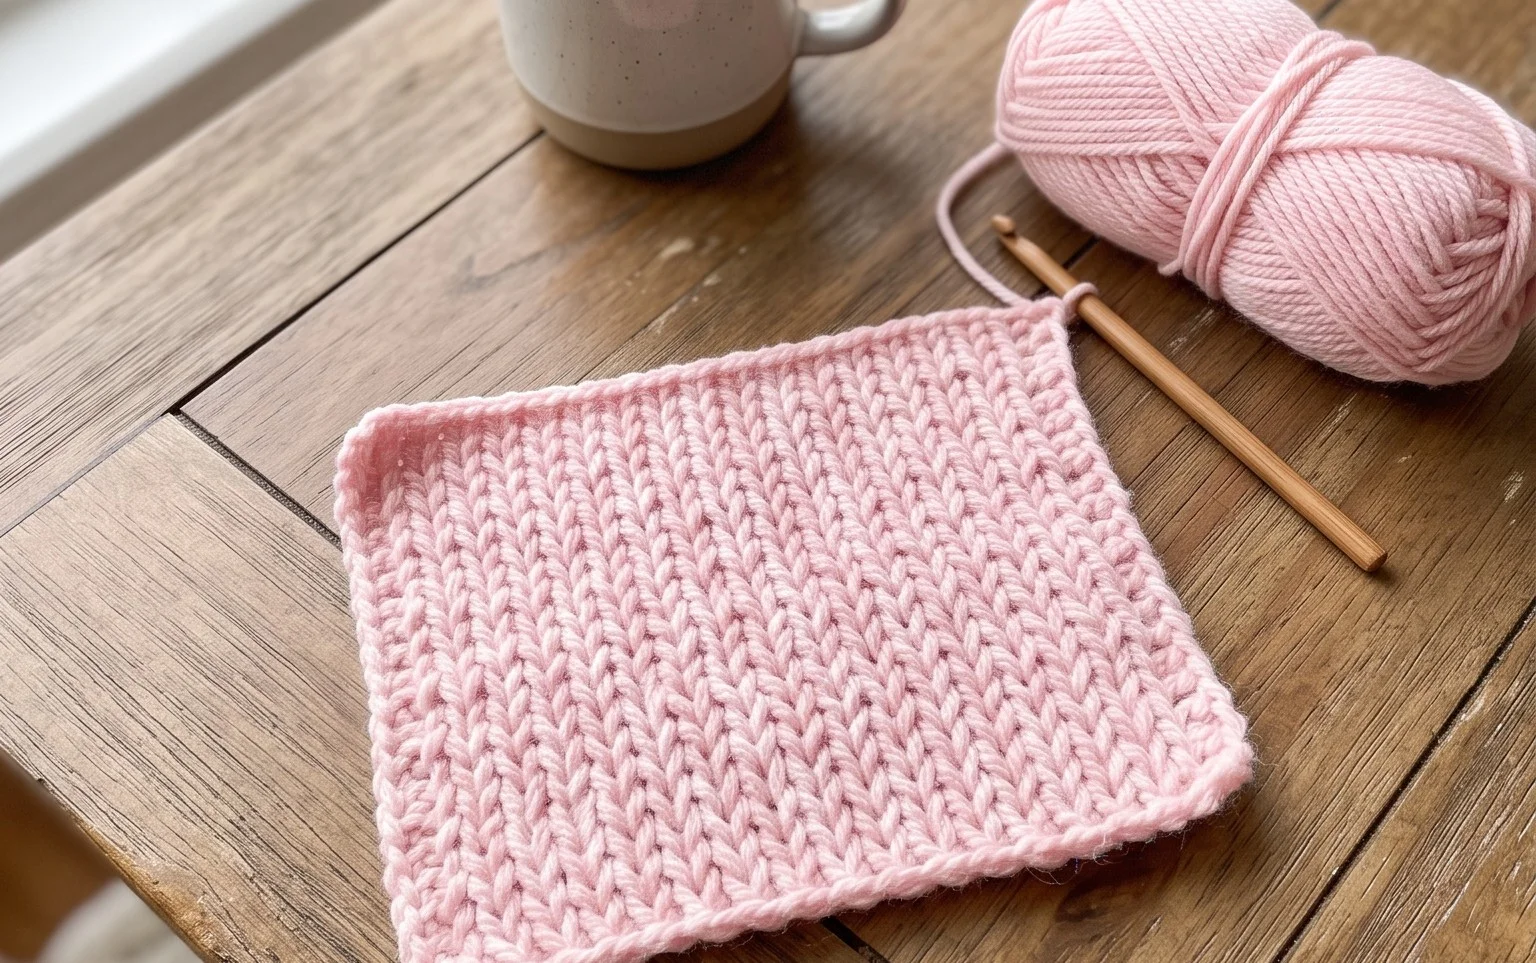
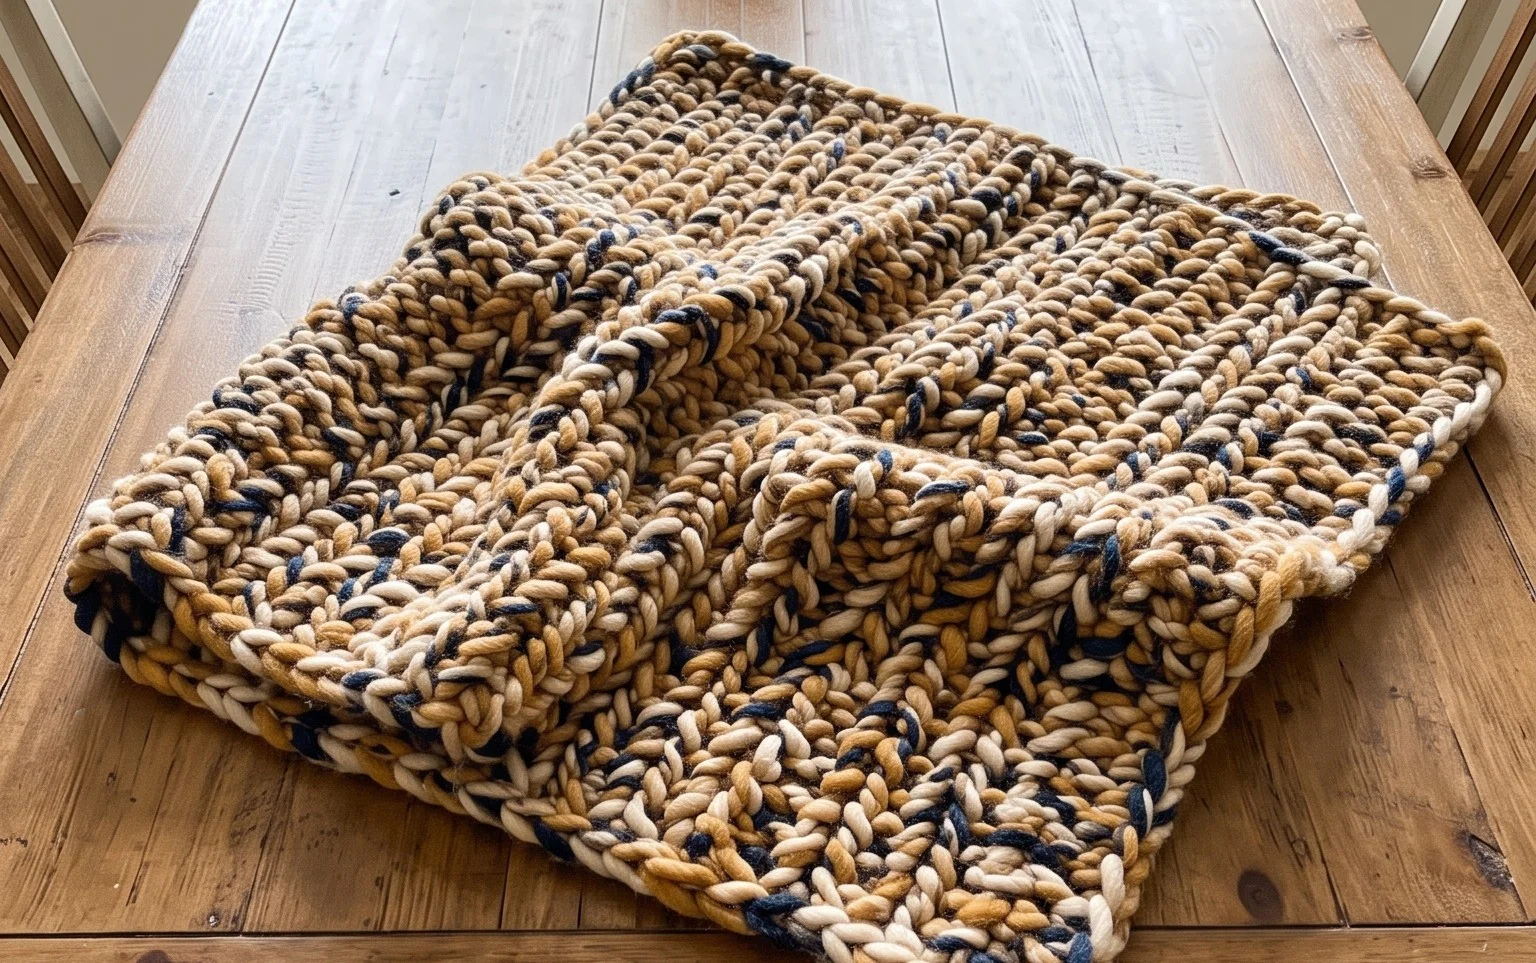
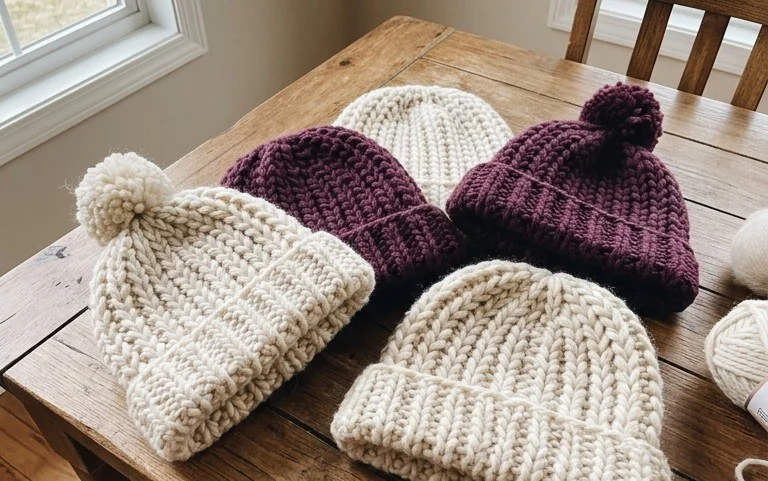
There is nothing quite like the feeling of wrapping yourself in a plush, handmade accessory that works up in just an afternoon. This cozy, oversized cap features a soft, cloud-like texture that drapes beautifully while keeping you perfectly warm during chilly outings. Whether you are a brand-new crocheter or a seasoned gift maker seeking a quick win, you will adore how the squishy stitches build so rapidly. You will master the rhythmic alpine stitch throughout this pattern, creating a sophisticated look that feels truly luxurious. It is the ideal weekend project to finally embrace the comfort of oversized yarn.
Why You’ll Love This Pattern
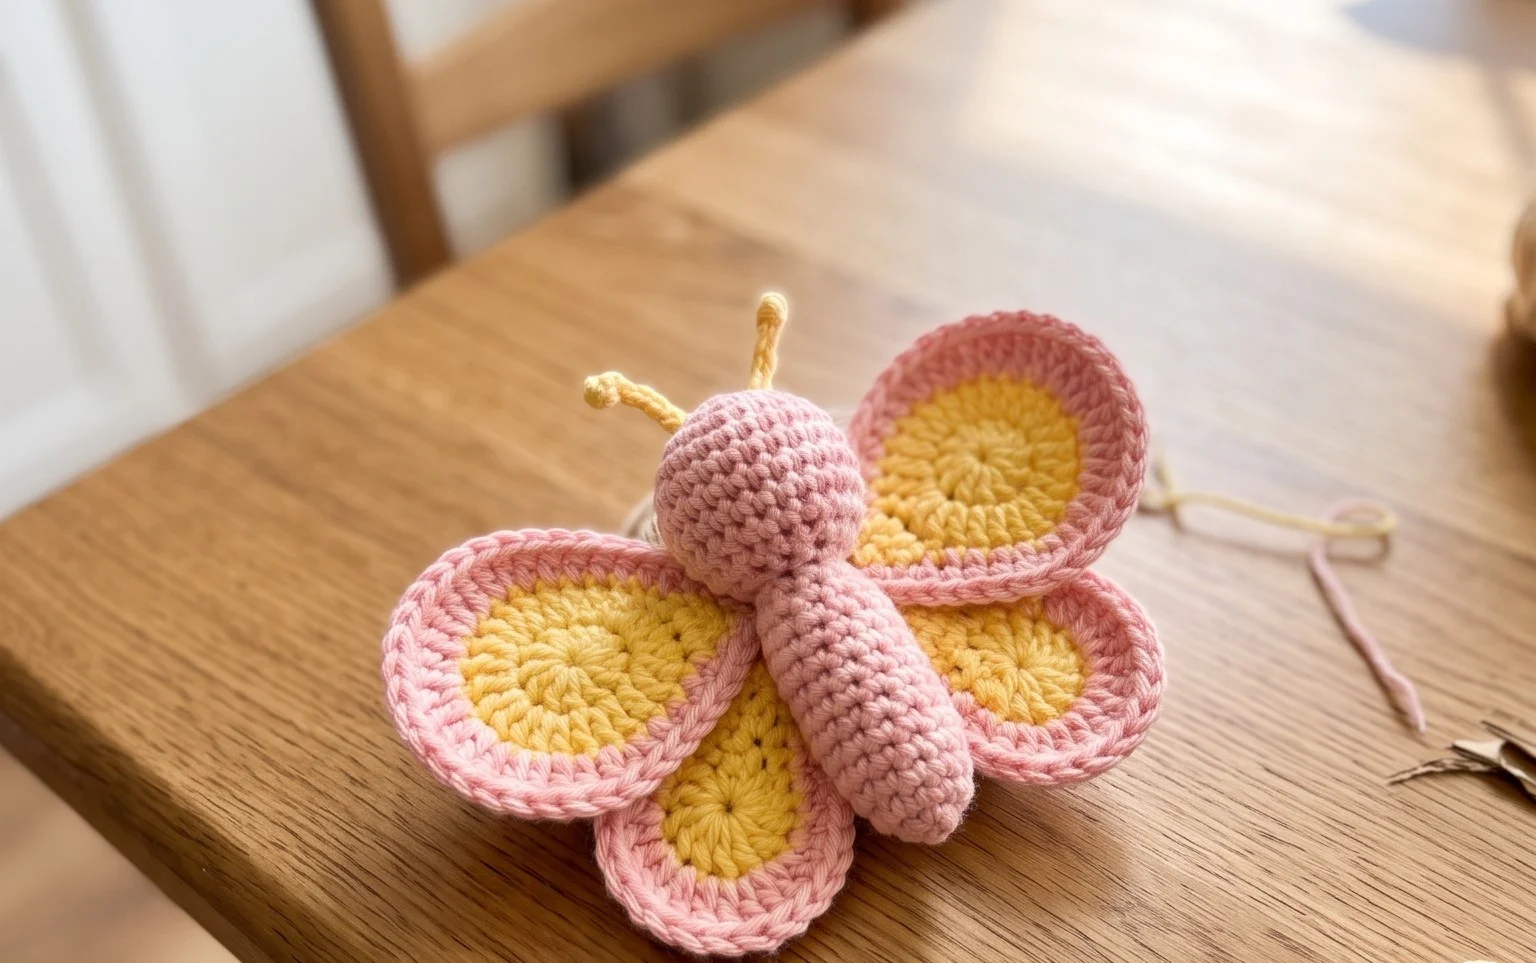
This Amigurumi Crochet Bee is a delightful project that brings a touch of whimsy to any space. It is specifically designed to be an ideal “first amigurumi” for those looking to master working in the round. The project is highly efficient, requiring very little yarn, making it a perfect stash-buster for those leftover scraps of yellow, black, and white worsted weight yarn. Because it is worked in a continuous spiral, there is no complicated joining, ensuring a smooth, seamless finish that looks professional even if you are just starting your crochet journey.
I am a beginner and this bee was the perfect project to practice my tension and magic ring. It worked up so quickly and looks adorable on my desk.
— Sarah, beginner crocheter
Pattern Overview & Skill Level
- Skill Level: Beginner
- Approximate Time: 1–2 hours
- Construction: Worked in continuous rounds from the head down to the stinger; wings are worked separately and sewn on.
- Finished Dimensions: Approximately 3 inches long and 2 inches wide.
Materials & Supplies Needed
- Yarn: Worsted weight (#4), 100% acrylic or cotton. Approximately 20 yards Yellow, 10 yards Black, 10 yards White.
- Hook Size: 3.5 mm (E-4) crochet hook.
- Notions: Tapestry needle, stitch markers, fiberfill stuffing, 6mm safety eyes.
- Yarn Substitutions: You may use DK weight yarn with a 3.0mm hook for a smaller, delicate bee, or bulky weight yarn with a 5.0mm hook for a larger, plush-style bee. Note that size changes will impact your yardage requirements.
Stitch Guide & Abbreviations (US Terms)
- MR: Magic Ring
- ch: Chain
- sc: Single crochet
- inc: Increase (2 sc in same st)
- dec: Decrease (sc2tog – single crochet 2 stitches together)
- st(s): Stitch(es)
- sl st: Slip stitch
- FO: Fasten off
Step-by-Step Pattern Instructions
Bee Body
- Rnd 1: With Yellow, 6 sc in MR (6)
- Rnd 2: inc in each st around (12)
- Rnd 3: [sc, inc] 6 times (18)
- Rnd 4: [2 sc, inc] 6 times (24)
- Rnd 5–7: sc in each st around (24)
- Rnd 8: Change to Black, sc in each st around (24)
- Rnd 9: Change to Yellow, sc in each st around (24)
- Rnd 10: Change to Black, sc in each st around (24)
- Rnd 11: Change to Yellow, sc in each st around (24). Insert safety eyes between Rnds 5 and 6.
- Rnd 12: [2 sc, dec] 6 times (18)
- Rnd 13: [sc, dec] 6 times (12). Stuff firmly with fiberfill.
- Rnd 14: [dec] 6 times (6). FO and weave in ends to close.
Wings (Make 2)
- Rnd 1: With White, 6 sc in MR (6)
- Rnd 2: [inc, sc] 3 times (9)
- Rnd 3: sc in each st around (9)
- Rnd 4: [dec, sc] 3 times (6). FO, leaving a long tail for sewing.
Assembly
Sew the two wings onto the top of the body between the black and yellow stripes. Use the tapestry needle to secure the wings firmly. Ensure all tails are pulled inside the body and hidden.
Care & Washing Instructions
- Hand wash in cool water using a mild detergent to preserve the shape and fiberfill structure.
- Gently squeeze out excess water; do not wring or twist.
- Lay flat on a towel in a ventilated area to air dry completely.
Pro Tips & Common Mistakes to Avoid
- Maintain Tension: For amigurumi, keep your tension tight to ensure the stuffing does not peek through the stitches. Use a hook slightly smaller than the yarn label recommends.
- Stitch Markers: Always use a stitch marker at the first stitch of every round. Since this pattern is worked in a continuous spiral, it is very easy to lose your place without one.
- Invisible Finishing: When closing the final round of the body, weave your tail through the front loops of the remaining 6 stitches and pull tight to create a smooth, rounded end.
- Size Adjustments: To make the bee larger, increase the number of rounds in the “yellow section” (Rnds 5-7). Note that this will require more yarn and potentially larger safety eyes to keep the bee proportional.
Frequently Asked Questions
Can I use a different yarn weight for this pattern?
Yes, you can use any weight yarn. Just ensure you use a hook size appropriate for that yarn (usually 0.5mm to 1.0mm smaller than recommended on the label) to maintain a tight fabric that keeps the stuffing inside.
Is this project suitable for absolute beginners?
Absolutely. This pattern uses basic single crochet stitches and the magic ring technique. If you are new to the magic ring, there are many video tutorials that can help you master that step before starting.
How do I keep my rounds from spiraling unevenly?
The slight shift in a continuous round is natural. To minimize the “jog” when changing colors, perform the final loop-pull-through of the last stitch of the old color using the new color yarn.
Am I allowed to sell the finished bees I make?
Yes, you are welcome to sell items made from this pattern, provided you credit the design. Please do not sell or redistribute the written pattern itself.
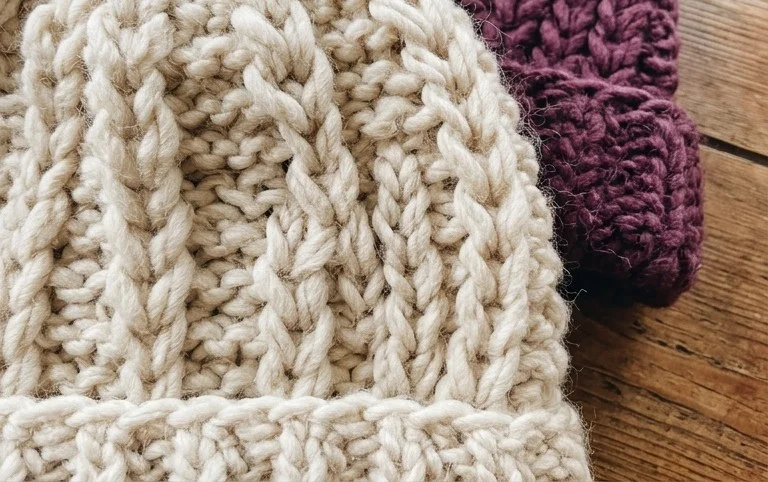
Wrapping yourself in this cozy, handmade accessory is truly the most rewarding part of the entire process! If you want to get creative, try working up a second version in a vibrant mustard yellow or a soft variegated wool to completely change the look. Once your hat is finished, please snap a photo and share it with our community on Pinterest or Instagram so we can cheer you on. In the meantime, feel free to browse our blog for even more free patterns.