Easy Crochet Bee: Essential Materials for This Free Pattern
There is something truly magical about holding a finished project that feels as soft as a cloud and drapes perfectly over your favorite armchair. Whether you are a beginner eager to master your first intricate pattern or a thoughtful gift maker crafting a keepsake, this versatile piece brings a touch of cozy elegance to any home. You will find immense satisfaction in watching the texture emerge as we explore the secrets behind achieving those crisp, uniform stitches. By the end of this guide, you will be well-prepared to select the perfect fibers to make your handmade dream a reality.
Why You’ll Love This Pattern
This Amigurumi Crochet Bee is the ultimate quick-win project for crocheters of all skill levels. Its compact size makes it incredibly versatile, perfect for keychains, nursery decor, or as a thoughtful handmade gift. You will love how efficiently it works up using basic stitches, making it a meditative project that doesn’t require a massive time commitment. Because it uses such small amounts of yarn, it is a fantastic way to clear out those leftover scraps from your stash, and its cheerful design is guaranteed to bring a smile to anyone’s face.
I managed to whip up a whole hive of these little bees in a single weekend. The pattern is very easy to follow and the finished result is absolutely adorable. It is my new go-to gift for baby showers.
— Sarah, amigurumi enthusiast
Pattern Overview & Skill Level
- Skill Level: Beginner
- Approximate Time: 1–2 hours
- Construction: Worked in continuous rounds from the head down to the tail, with wings crocheted separately and sewn on.
- Finished Dimensions: Approximately 3 inches tall by 2.5 inches wide.
Materials & Supplies Needed
- Yarn: Worsted weight (#4), 100% cotton or acrylic. Small amounts of Yellow, Black, and White. Approximately 20 yards total.
- Hook Size: 3.5 mm (E-4) crochet hook (a smaller hook than recommended on the label helps keep stitches tight to prevent stuffing from showing).
- Notions: Tapestry needle, stitch markers, fiberfill stuffing, two 6mm safety eyes.
- Yarn Substitutions: You may use DK weight yarn for a smaller bee, or bulky weight for a “chunky” bee. Note that changing yarn weight will require adjusting your hook size to ensure the stuffing does not poke through the fabric.
Stitch Guide & Abbreviations (US Terms)
- MR: Magic Ring
- sc: Single crochet
- inc: Increase (work 2 sc into the same stitch)
- dec: Decrease (work 2 sc together through the front loops)
- st(s): Stitch(es)
- sl st: Slip stitch
- FO: Fasten off
Step-by-Step Pattern Instructions
Bee Body
- Rnd 1: With Yellow, 6 sc in MR (6 sts)
- Rnd 2: Inc in each st around (12 sts)
- Rnd 3: (1 sc, inc) repeat 6 times (18 sts)
- Rnd 4: (2 sc, inc) repeat 6 times (24 sts)
- Rnds 5-6: Sc in each st around (24 sts)
- Rnd 7: Change to Black, sc in each st around (24 sts)
- Rnd 8: Change to Yellow, sc in each st around (24 sts)
- Rnd 9: Change to Black, sc in each st around (24 sts)
- Rnd 10: Change to Yellow, sc in each st around (24 sts)
- Rnd 11: (2 sc, dec) repeat 6 times (18 sts). Insert safety eyes between Rnds 5 and 6.
- Rnd 12: (1 sc, dec) repeat 6 times (12 sts). Begin stuffing.
- Rnd 13: Dec 6 times (6 sts)
- Rnd 14: FO, leave a long tail. Use the needle to weave through the front loops to close the opening.
Wings (Make 2)
- Rnd 1: With White, 6 sc in MR (6 sts)
- Rnd 2: Inc in each st around (12 sts)
- Rnd 3: Sc in each st around (12 sts)
- Rnd 4: Dec 6 times (6 sts)
- Rnd 5: Sl st to join, FO. Sew wings to the top of the body between Rnds 3 and 4.
Care & Washing Instructions
- Hand wash gently in cool water using a mild wool-safe detergent.
- Do not wring or twist; squeeze out excess water with a towel and lay flat to dry in the shade.
- If the bee becomes misshapen, gently pull and massage the stuffing to redistribute it to its original form.
Pro Tips & Common Mistakes to Avoid
- Maintain Tension: For amigurumi, tighter stitches are better. If you see large gaps, drop down one hook size.
- Mark Your Rounds: Always use a stitch marker at the start of your round; because this is worked in a continuous spiral, it is very easy to lose your place.
- Hidden Ends: Weave your yarn ends into the center of the body rather than on the surface to keep the exterior looking professional.
- Size Adjustments: You can make a larger bee by adding more increase rounds (e.g., 3 sc, inc), but ensure you increase your stuffing amount accordingly to keep it firm.
Frequently Asked Questions
Can I use a different yarn weight for this pattern?
Yes, you can use any weight yarn. Just ensure you use a hook that is about 1mm smaller than what is recommended on your yarn label to keep the stitch density tight for the stuffing.
Is this pattern suitable for complete beginners?
Yes, this is an excellent starter project. You only need to know how to work in the round and perform basic increases and decreases.
How do I keep the color changes smooth?
When changing colors for the stripes, complete the final pull-through of the last stitch of the previous color using the new color. This creates a cleaner transition.
Can I sell the bees I make from this pattern?
Yes, you are welcome to sell finished items made from this pattern. Please credit the designer when listing your items online.
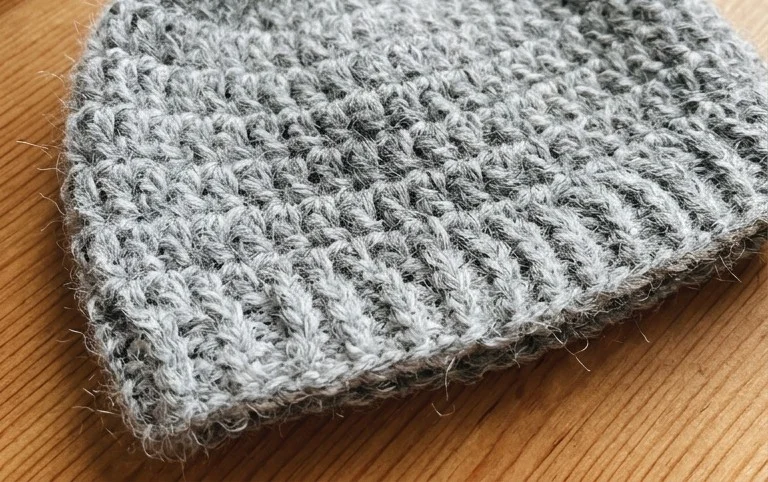
You are going to absolutely love wrapping yourself in this cozy, beautifully textured creation once those final stitches are cast off. If you want to customize your look, try using a variegated yarn for a fun, spontaneous splash of color that truly makes the design pop. I would be so thrilled to see your unique version, so please share a photo on Pinterest or Instagram! When you are ready for your next project, head over to my blog to discover more free patterns.