Choose Your Crochet Style: Scarf, Cowl, or Shawl Patterns
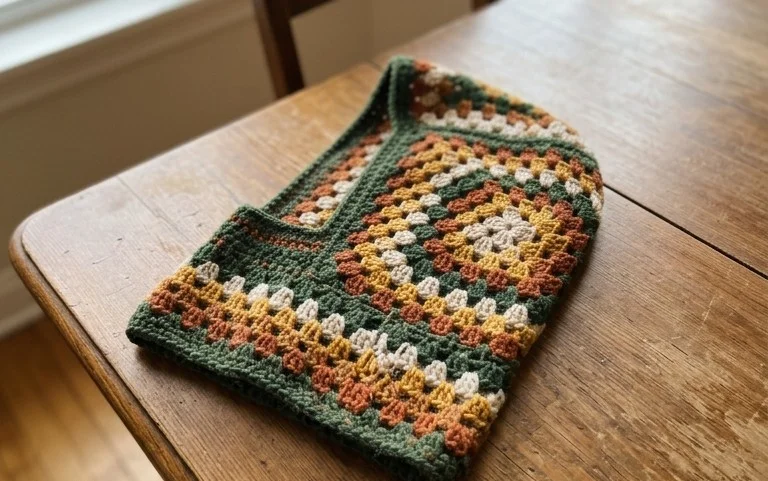
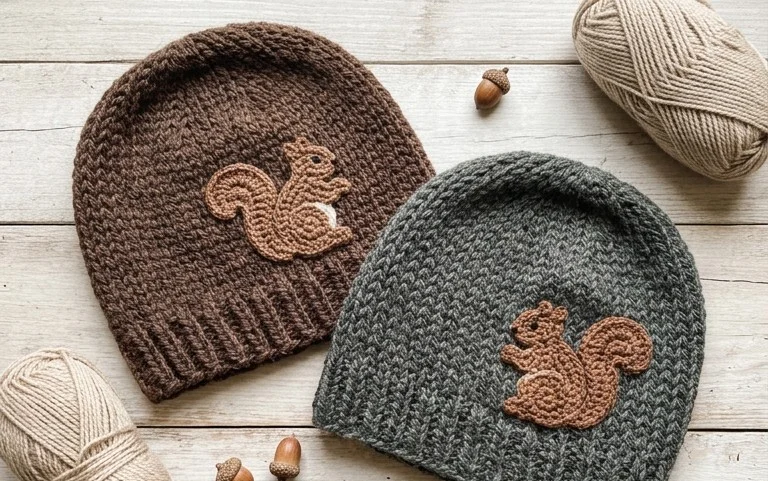
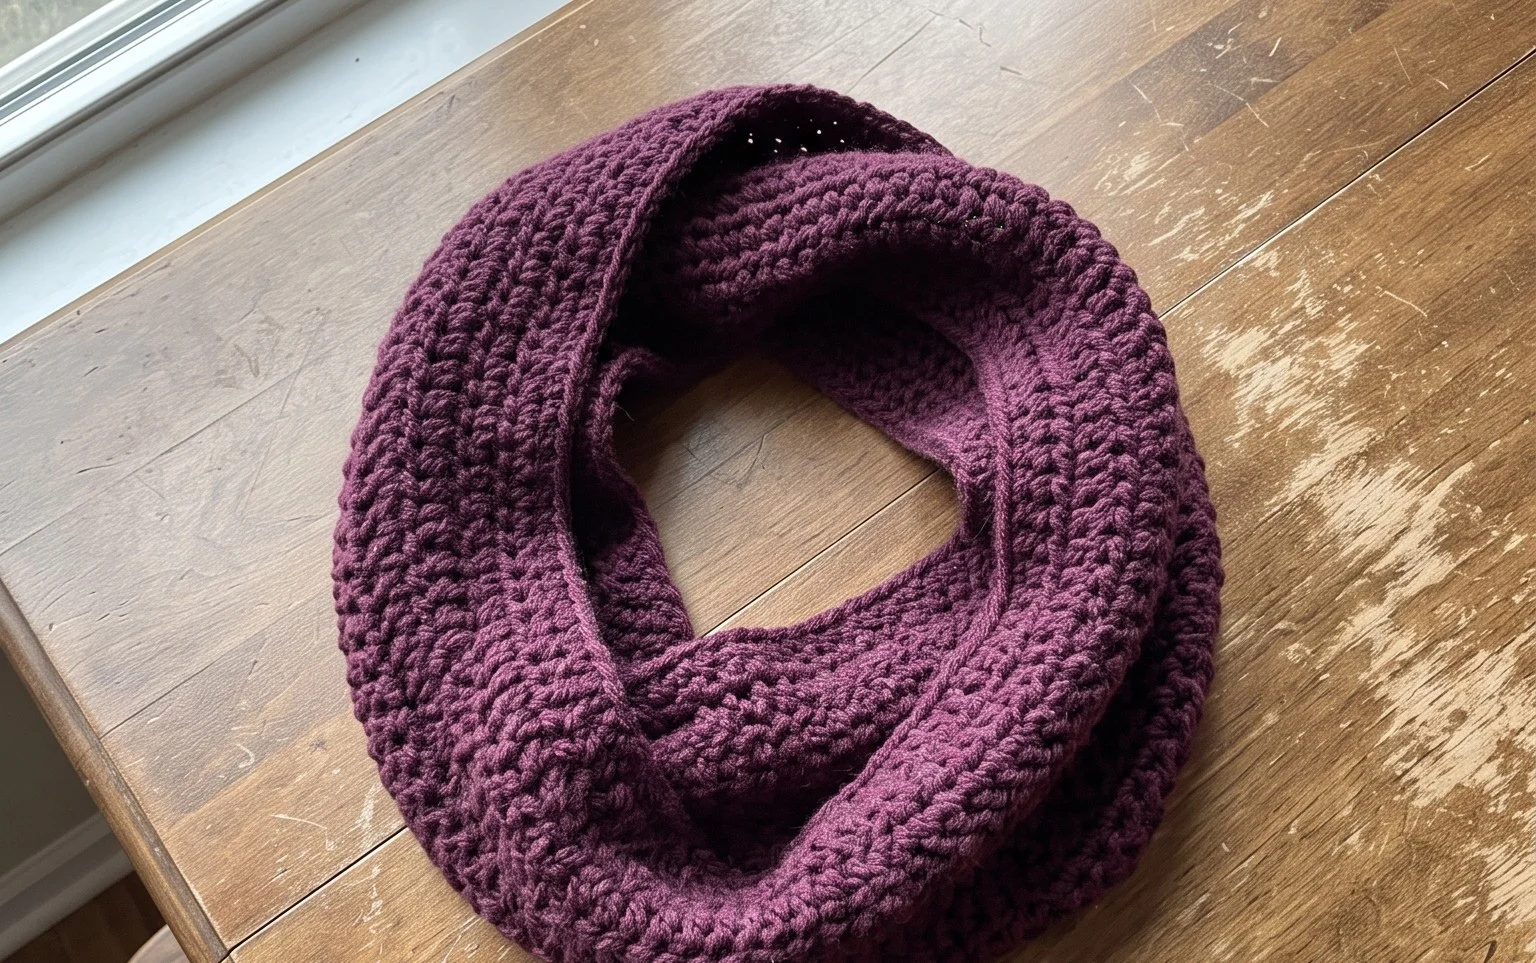
Soft wool against your skin turns a chilly morning walk into something cozy and intentional. Whether you reach for a long, wrap-around scarf, a snug cowl that stays put, or a drapey triangular shawl, your choice defines how you layer up for the season. This guide breaks down the structural differences between these three cold-weather essentials so you can pick the right shape for your next project. You will learn the fundamental construction techniques that keep these pieces functional and flattering, helping you decide which silhouette suits your wardrobe best while sharpening your basic crochet skills along the way.
Why You’ll Love This Pattern
This beginner-friendly crochet coaster set is designed to work up in less than thirty minutes per piece, making it a reliable project for using up leftover yarn scraps. The dense, textured stitch pattern creates a sturdy surface that effectively protects tabletops from condensation and heat. Because the pattern relies on basic increases within a flat circle, it provides an excellent introduction to round-based construction without the frustration of complex stitch patterns. You can easily adjust the diameter by adding or subtracting final rounds to fit larger mugs or small plant pots.
I managed to finish a full set of four coasters in one evening while watching a movie. The instructions are very clear, especially for someone who usually struggles with keeping rounds flat.
— Sarah, casual crocheter
Pattern Overview & Skill Level
- Skill Level: Beginner
- Approximate Time: 20-30 minutes per coaster
- Construction: Worked in continuous rounds using basic increases to maintain a flat circle
- Finished Dimensions: Approximately 4 inches in diameter
Materials & Supplies Needed
- Yarn: Worsted weight (#4), 100% cotton yarn (e.g., Lily Sugar’n Cream), approximately 15 yards per coaster. Cotton is preferred for its heat resistance and absorbency.
- Hook Size: 5.0 mm (H-8) crochet hook.
- Notions: Tapestry needle for weaving in ends, one stitch marker to track the start of rounds.
- Yarn Substitutions: Acrylic yarn may be used, though it will not absorb moisture as effectively as cotton and may melt if exposed to very hot drinkware. Wool is a suitable alternative if you prefer a felted texture, though it requires hand-washing.
Stitch Guide & Abbreviations (US Terms)
- ch = chain
- sc = single crochet
- inc = increase (work 2 sc into the same stitch)
- sl st = slip stitch
- st/sts = stitch/stitches
- MR = magic ring (or chain 2 and work into the first chain)
Step-by-Step Pattern Instructions
Coaster Body
- Rnd 1: Work 6 sc into a magic ring. Place a stitch marker in the first stitch. (6 sts)
- Rnd 2: Work 2 sc in each st around. (12 sts)
- Rnd 3: 1 sc, inc 6 times. (18 sts)
- Rnd 4: 2 sc, inc 6 times. (24 sts)
- Rnd 5: 3 sc, inc 6 times. (30 sts)
- Rnd 6: 4 sc, inc 6 times. (36 sts)
- Rnd 7: 5 sc, inc 6 times. (42 sts)
- Rnd 8: Slip stitch into each stitch around to create a clean, finished edge. (42 sts)
Finishing
Fasten off the yarn, leaving a 4-inch tail. Use a tapestry needle to pull the yarn end through the final slip stitch and into the back of the work. Weave the tail through the stitches of the final round to secure it, then trim any excess yarn close to the fabric.
Care & Washing Instructions
- Machine wash in cold water on a gentle cycle to prevent shrinking.
- Lay flat on a towel to air dry, reshaping the circle with your hands while damp.
- If the coasters become slightly wavy after washing, dampen them and press under a heavy book for two hours to flatten.
Pro Tips & Common Mistakes to Avoid
Maintain consistent tension throughout the rounds; if your stitches are too loose, the coaster will ripple rather than lie flat. Always move your stitch marker to the first stitch of each new round so you do not lose track of your count, especially during the increase rounds. If you prefer a larger coaster for oversized mugs, continue increasing in the established pattern (e.g., Rnd 9: 6 sc, inc 6 times) until you reach your desired size, noting that this will require more yardage. To hide your starting tail completely, work your first round of stitches over the tail of the magic ring to lock it in place.
Frequently Asked Questions
Can I use a different yarn weight for this pattern?
Yes, you can use DK or bulky weight yarn, but you will need to adjust the hook size accordingly. A smaller hook will yield a denser, smaller coaster, while a larger hook will result in a more open, larger piece.
Why is my coaster curling into a bowl shape?
Curling usually occurs if your tension is too tight or if you are skipping increase stitches. Ensure you have exactly 6 increases in every round to keep the circle flat.
Is this project suitable for absolute beginners?
This project is ideal for beginners as it covers fundamental skills like the magic ring, basic single crochet stitches, and circular increasing, which are the foundations of most amigurumi patterns.
Can I sell the finished coasters I make?
You are welcome to sell finished items made from this pattern, provided you credit the designer. Please note that you may not sell or redistribute the pattern document itself.
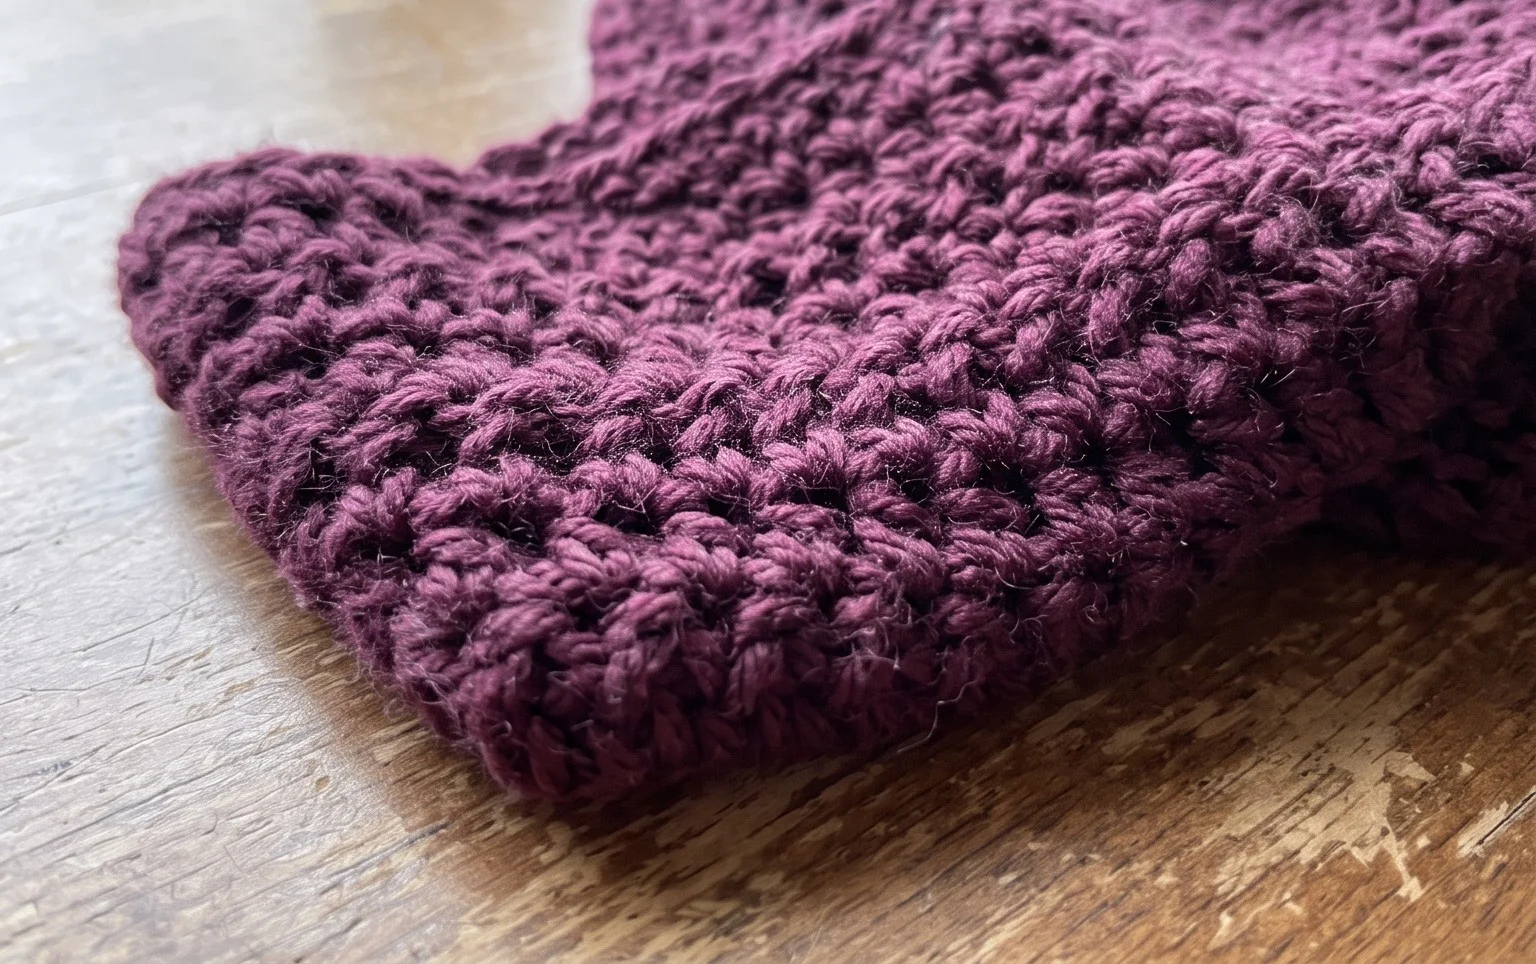
Finished pieces like these feel substantial and warm, especially when worked in a soft wool blend or a chunky alpaca yarn. You can easily adjust the length of your scarf or the depth of your shawl by adding extra rows until the piece wraps exactly how you like it. Share a photo of your handmade creation on social media to inspire others in the maker community. You can find more free patterns and seasonal projects by browsing the other archives on my blog anytime you need inspiration.