Easy Ribbed Beanie: Free Crochet Pattern for Beginners
This cozy ribbed beanie features a dense, squishy fabric that traps body heat effectively during chilly morning walks or outdoor errands. The simple design appeals to beginners because it relies entirely on straight rows worked in the back loops, avoiding the stress of joining rounds or complex stitch counts. You will find this project incredibly satisfying as the rows grow quickly, giving you a tangible result in just a few hours. By focusing on tension and row consistency, you will learn the rhythm of basic construction while building a handmade staple that fits snugly and maintains its shape even after repeated wears throughout the winter months.
Why You’ll Love This Pattern
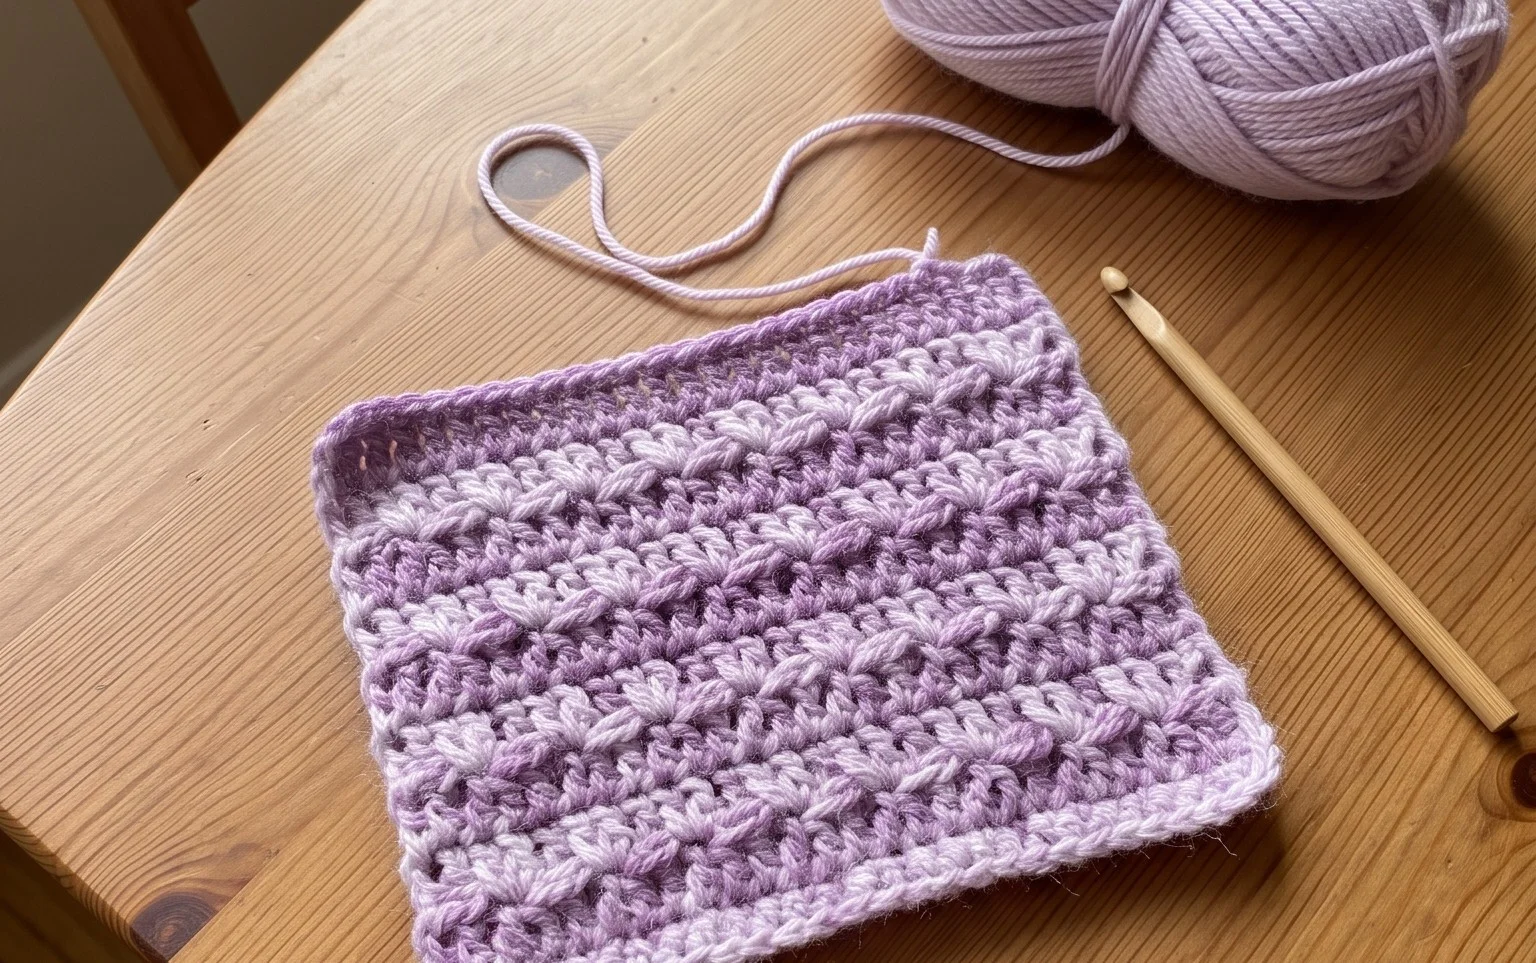
This crochet ribbed beanie offers a classic, fitted silhouette that sits comfortably against the head without feeling bulky. The design utilizes a simple two-row repeat that creates a dense, thermal texture ideal for cold weather. Because it is worked as a flat rectangular panel and then seamed, it provides a perfect entry point for beginners who want to master basic stitch manipulation without the complexity of circular shaping. You can finish this project in a single evening, making it an excellent option for last-minute gifts or stocking up on handmade winter essentials. The use of a simple back-loop-only technique results in a high-stretch fabric that accommodates various head sizes easily.
I managed to finish this hat in about four hours. The pattern is very straightforward and the ribbed texture looks much more professional than I expected for such an easy stitch count.
— Sarah, hobbyist crafter
Pattern Overview & Skill Level
- Skill Level: Beginner
- Approximate Time: 3 to 5 hours
- Construction: Worked flat in rows to create a rectangle, then seamed to form a tube with one end gathered shut.
- Finished Dimensions: 18 inches circumference (unstretched) by 9 inches tall, fits an average adult head.
Materials & Supplies Needed
- Yarn: Worsted weight (#4), wool or acrylic blend, approximately 200 yards.
- Hook Size: 5.0 mm (US H-8).
- Notions: Tapestry needle, locking stitch markers, measuring tape, and scissors.
- Safe yarn substitutions: You may use a cotton-acrylic blend for better breathability, though it will have less natural stretch than 100% wool. Avoid heavy, thick-and-thin novelty yarns as they obscure the stitch detail and make counting rows difficult.
Stitch Guide & Abbreviations (US Terms)
- ch = chain
- st = stitch
- sc = single crochet
- BLO = back loop only (insert hook into the back loop of the stitch instead of both loops to create ridges)
- sl st = slip stitch
- YO = yarn over
Step-by-Step Pattern Instructions
Main Body Panel
- Row 1: Ch 35. Sc in the second ch from hook and in every ch across. Ch 1, turn. (34 sts)
- Row 2: Sc in the BLO of each st across. Ch 1, turn. (34 sts)
- Rows 3–60: Repeat Row 2 until the piece measures approximately 18 inches long when slightly stretched. Do not fasten off after the final row.
Assembly and Finishing
- Fold the rectangle in half, matching the short sides together.
- Sl st through the BLO of the last row and the corresponding starting chain across the seam to join the piece into a tube.
- Fasten off, leaving a 12-inch yarn tail.
- Thread the tail onto your tapestry needle. Weave the yarn through the edge of the top opening of the tube, passing through every other row end.
- Pull the tail tightly to gather the top of the hat closed. Secure with a knot and bury the remaining yarn tail inside the hat.
- Turn the hat right side out.
Care & Washing Instructions
- Hand wash in cool water using a mild wool-safe detergent to maintain the integrity of the fibers.
- Lay the hat flat on a dry towel and reshape it to its original dimensions, avoiding direct sunlight.
- Do not hang the hat to dry, as the weight of the water will stretch the ribs and cause the garment to lose its intended fit.
Pro Tips & Common Mistakes to Avoid
Maintain consistent tension throughout the project by keeping your yarn flow steady; irregular tension will cause the ribbing to look wavy rather than sharp. Use a stitch marker on the first stitch of every row to ensure you do not accidentally skip the final stitch of the row, which is a common error that leads to a tapered or uneven edge. When joining the seam, keep your slip stitches loose to ensure the seam remains as stretchy as the rest of the fabric. If you wish to make the hat larger or smaller, adjust the starting chain length; adding or removing chains in increments of two will allow you to maintain the pattern repeat without affecting the ribbing aesthetic.
Frequently Asked Questions
Can I use a larger hook size for this pattern?
Using a larger hook will make the fabric looser and drape differently. While it might make the hat faster to complete, it will result in a larger finished circumference and potentially less warmth due to the increased gap between stitches.
Is this pattern suitable for complete beginners?
Yes, this is an excellent first project. It requires only the ability to chain and work single crochet stitches in the back loop. The pattern is very forgiving because the ribbing hides minor inconsistencies in tension.
Can I sell the hats I make from this pattern?
You are welcome to sell items made from this pattern as long as you credit the design. Please do not redistribute the pattern text or photos as your own work.
What if my hat is too tight?
If the hat feels too tight, you can easily undo the seam and add a few extra rows to the length of the panel. Alternatively, blocking the hat by gently stretching it while damp can help relax the stitches and increase the overall circumference by about half an inch.
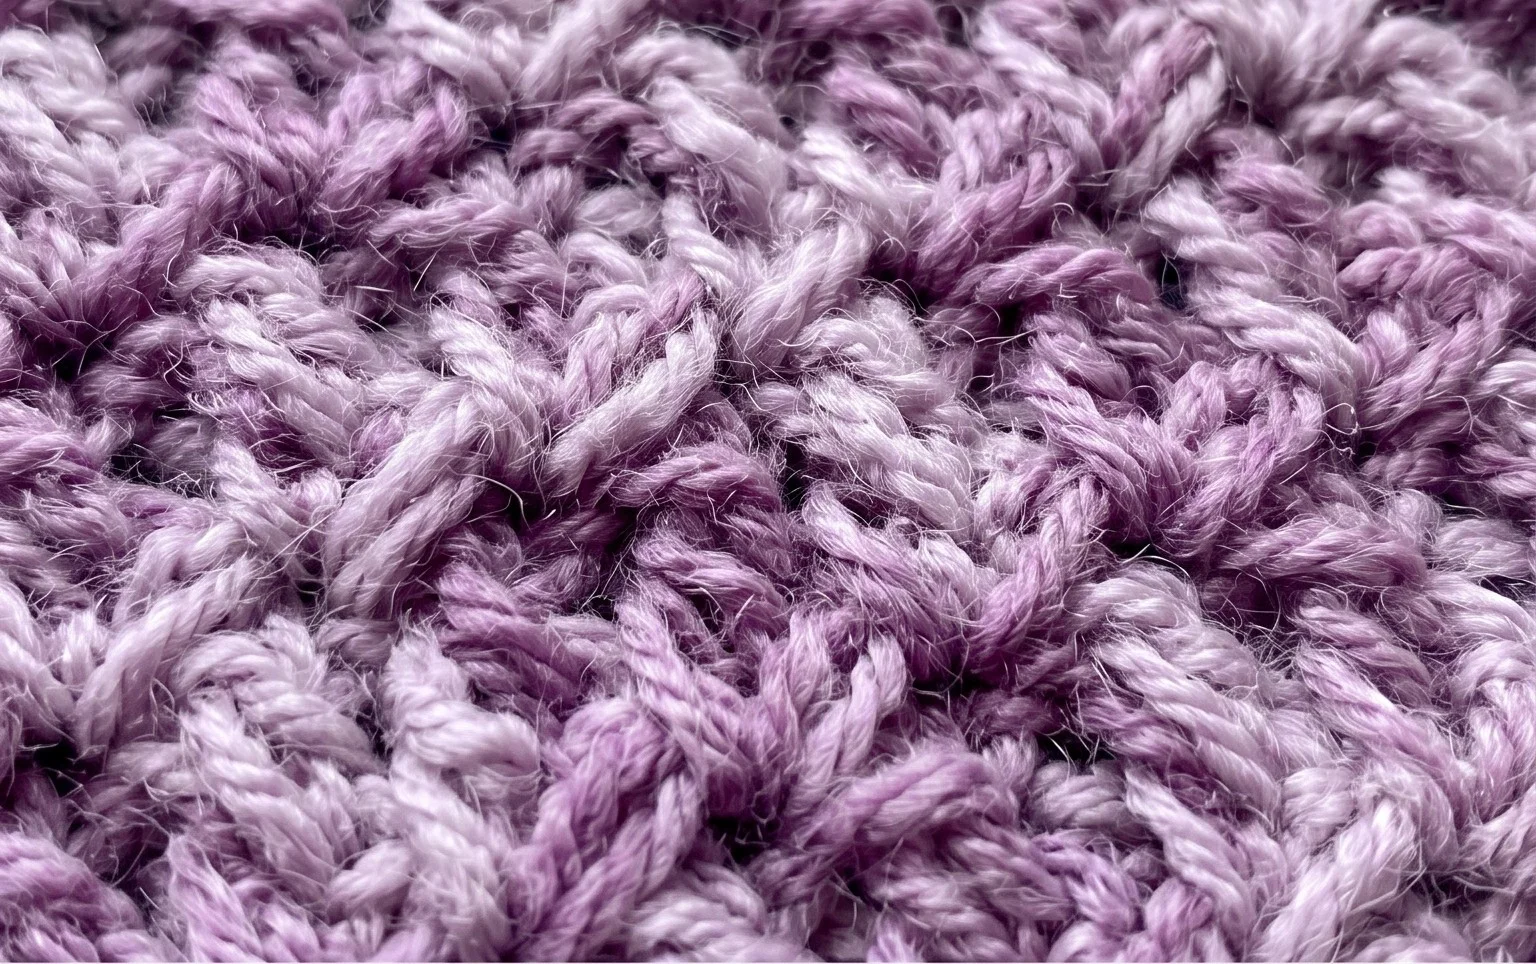
Finishing this simple accessory gives you a warm, professional-looking beanie that feels soft against your skin and holds up well against harsh winds. You can easily adapt the size by adding more rows for a slouchy fit or switching to a variegated wool yarn for a pop of color that stands out in a crowd. Please share a photo of your finished work on your favorite social media platform so others can see your progress. Feel free to browse our full list of free patterns for your next afternoon project.